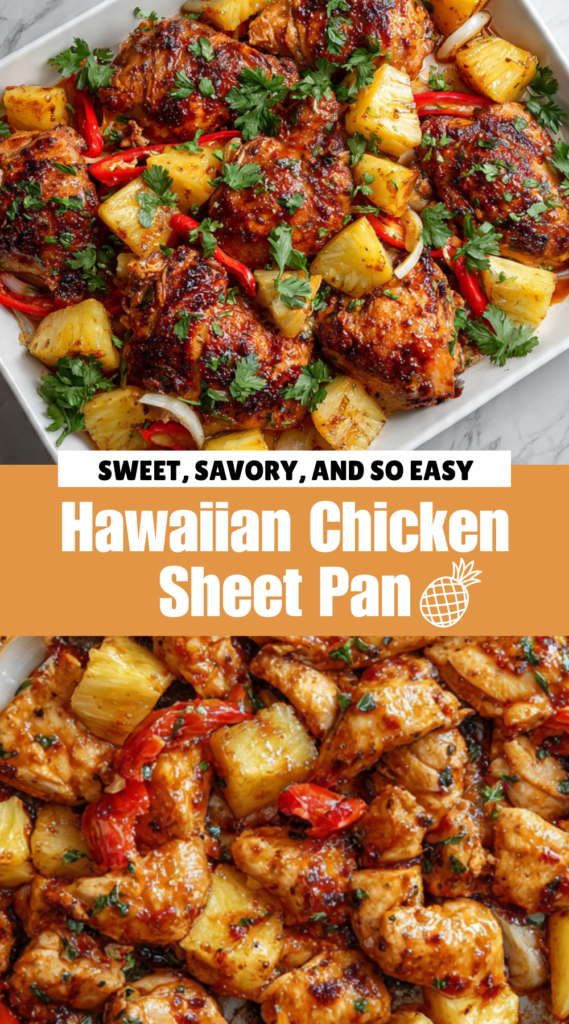
Hawaiian Chicken Sheet Pan (Sweet & Savory Dinner)
I had a couple of chicken breasts and a stray bell pepper, and I found a can of pineapple chunks tucked behind a jar of pickles. I was craving something that felt like a vacation, even if I was just eating it at my cluttered kitchen table. The house felt quiet, and I wanted a meal that took less than ten minutes to prep so I could get back to my book. It wasn’t meant to be fancy; I just wanted that specific charred-pineapple sweetness and a salty glaze to break up the mid-week slump.
What Happened While Cooking
About fifteen minutes into the bake, I realized I’d overcrowded the pan. The chicken was releasing its juices, and because the pineapple chunks were also quite wet, the whole tray was starting to look more like a braise than a roast. I saw the bell peppers looking limp instead of blistered. I had to pull the pan out, use a spoon to carefully bail out about half a cup of liquid, and then spread everything out across a second sheet pan. Once I gave the ingredients some “breathing room” and moved one pan to the top rack, the edges finally started to caramelize and get those dark, sugary spots that make this dish worth eating.
Ingredient Notes
- Chicken Breasts: I used breasts this time because it’s what I had, but I made sure to cut them into very uniform one-inch cubes. If some are bigger than others, the small ones turn into dry erasers before the big ones are even safe to eat.
- Pineapple Chunks: I used canned pineapple in juice, not syrup. Syrup makes the whole thing cloyingly sweet and tends to burn on the pan before the chicken is done. I made sure to pat them dry with a paper towel first—a step I almost skipped but was glad I didn’t.
- Soy Sauce & Ginger: Since I don’t use wine or mirin, I relied on a heavy splash of soy sauce and a good tablespoon of freshly grated ginger to give the glaze its “bite.”
Step-by-Step Cooking Experience
- The Chop: I diced the chicken, a red bell pepper, and a red onion into chunks roughly the same size as the pineapple pieces. Keeping the scale consistent is the only way to ensure they finish at the same time.
- The Whisk: I mixed the soy sauce, ginger, and a little brown sugar in a small bowl. I tasted it and added a pinch of red pepper flakes because the sweetness needed something to push back against.
- The Toss: I dumped everything onto the pans and poured the sauce over. I used my hands to make sure every piece of chicken was stained brown by the sauce.
- The Roast: I slid them into a 400°F oven. After the first ten minutes and my “liquid rescue” maneuver, I started to smell the sugars in the pineapple beginning to toast.
- The Broil: For the last two minutes, I switched the oven to broil. I watched through the glass as the tips of the onions turned black and the pineapple started to sizzle.
Mistakes & Fixes
One mistake I made was adding the garlic too early. I had tossed minced garlic in with the raw chicken, and by the time the chicken was cooked through, the garlic bits on the pan had turned tiny and bitter. It didn’t ruin the dish, but it was a distraction. To fix the flavor profile, I quickly sliced some green onions and scattered them over the hot pan the second it came out of the oven. The residual heat softened the green onions just enough to provide that fresh, sharp hit I had lost when the garlic overcooked.
Serving & Leftovers
I served this over a big scoop of plain white rice, making sure to scrape all the sticky, burnt-on bits of sauce from the foil—that’s where the real flavor is. My roommate ended up having a second bowl, mostly picking out the charred pineapple. We had one small container left over, which I had for lunch the next day. The peppers lost their snap after being in the fridge, but the chicken actually tasted better after sitting in the ginger-soy glaze overnight. I’d recommend reheating it in a toaster oven rather than a microwave to keep the chicken from getting that “rubbery” leftover texture.
It’s a great, low-effort meal that honestly tastes better than the sum of its parts, and I’ll definitely keep it in mind for the next time I’m stuck with a random can of pineapple.
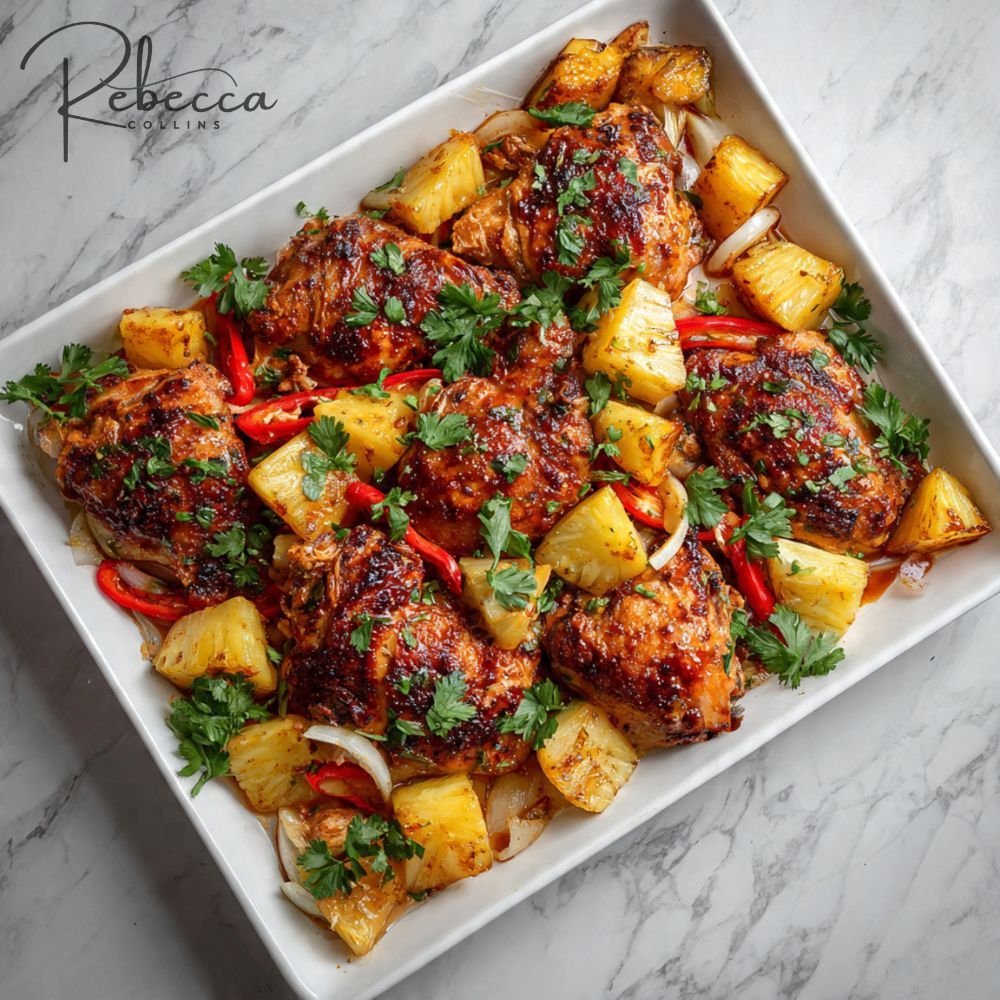
Hawaiian Chicken Sheet Pan
Tropical chicken and veggies roasted together on one pan with a sweet and tangy Hawaiian-inspired sauce. This vibrant, colorful meal comes together with minimal cleanup and delivers island flavors in every bite.
shopping_basket Ingredients
- 1½ lbs boneless, skinless chicken thighs or breasts
- 1 red bell pepper, sliced
- 1 yellow bell pepper, sliced
- 1 red onion, cut into wedges
- 2 cups fresh pineapple chunks
- 2 tbsp olive oil, divided
- 1 tsp salt, divided
- ½ tsp black pepper, divided
- ½ cup soy sauce (or coconut aminos)
- ¼ cup pineapple juice
- ¼ cup honey or brown sugar
- 2 tbsp ketchup
- 2 cloves garlic, minced
- 1 tbsp fresh ginger, grated
- 1 tsp cornstarch
list Instructions
- Prep Oven and Pan: Preheat oven to 425°F (220°C). Line a large sheet pan with parchment paper or foil for easy cleanup.
- Season Chicken and Veggies: Place chicken, bell peppers, red onion, and pineapple on the prepared sheet pan. Drizzle with 1 tbsp olive oil and season with ½ tsp salt and ¼ tsp black pepper. Toss to coat, then spread in a single layer.
- Make Hawaiian Sauce: In a small bowl, whisk together soy sauce, pineapple juice, honey, ketchup, garlic, ginger, and cornstarch until smooth.
- Coat Chicken: Pour half of the sauce over the chicken, reserving the rest. Use tongs to coat chicken evenly.
- Roast: Bake for 20-25 minutes, or until chicken is cooked through (internal temperature 165°F) and vegetables are tender-crisp.
- Final Glaze: Remove pan from oven. Brush remaining sauce over chicken and vegetables. Return to oven for 3-4 minutes until sauce thickens slightly.
- Check Doneness: Pierce chicken with a fork to ensure juices run clear. Vegetables should be tender with slightly caramelized edges.
- Serve: Remove from oven. Let rest 5 minutes, then serve hot over rice or quinoa, garnished with chopped green onions or sesame seeds if desired.
monitor_heart Nutrition Information
Per Serving (¼ of recipe)
lightbulb Success Tips & Variations
- Cut evenly: Cut chicken and vegetables into similar-sized pieces for even cooking.
- Don’t overcrowd: Spread ingredients in a single layer with space between pieces to allow proper browning and caramelization.
- Fresh pineapple is best: Fresh pineapple chunks hold their shape better than canned. If using canned, drain well.
- Vegetable variations: Add zucchini, broccoli, or snap peas during the last 10 minutes of cooking.
- Protein alternatives: Substitute shrimp, salmon, or tofu for the chicken. Adjust cooking time as needed.
- Spice it up: Add ½ tsp red pepper flakes or a dash of sriracha to the sauce for a spicy kick.
package Storage & Reheating
Storage: Cool completely and store in an airtight container in the refrigerator for up to 3-4 days. The flavors often improve overnight.
Reheating: Reheat in a skillet over medium heat until warmed through, or microwave individual portions for 1-2 minutes, stirring halfway. The pineapple may soften slightly upon reheating.
Freezing: Not recommended as the pineapple and vegetable texture changes significantly when frozen and thawed. The chicken can be frozen separately for up to 2 months.
help Frequently Asked Questions
Can I use chicken breasts instead of thighs?
Yes! Chicken breasts work perfectly. Reduce cooking time by 2-3 minutes as they cook faster than thighs. Chicken breasts should reach an internal temperature of 165°F (74°C).
Can I make this recipe ahead of time?
Yes, you can prep the vegetables and sauce up to 2 days in advance. Store separately in airtight containers in the refrigerator. Assemble and bake when ready to eat for best results.
Can I use frozen pineapple?
Yes, but thaw completely and pat dry with paper towels first. Frozen pineapple releases more liquid which can make the dish watery. Fresh pineapple is recommended for best texture.
What should I serve with Hawaiian chicken?
Serve over white or brown rice, quinoa, or cauliflower rice. Garnish with green onions, sesame seeds, or chopped cilantro. A side of steamed broccoli or green beans complements the flavors well.
SAVE THIS RECIPES