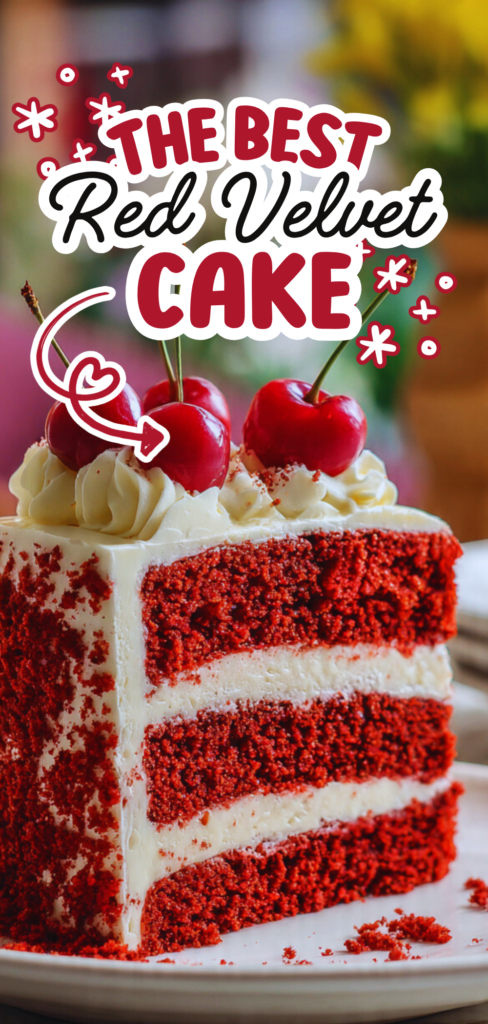
Classic Red Velvet Cake (Moist, Rich & Easy to Make)
What Happened While Cooking
The “almost went wrong” moment happened with the color. I’ve made the mistake before of adding the red food coloring directly to the dry flour, which often results in a “speckled” or muddy-looking cake rather than a vibrant red. I realized just in time that the color needs to be unified before it hits the batter. I had to pivot quickly: I mixed the cocoa powder and the red coloring into a thick paste with a tablespoon of water first. This ensured the color was fully dissolved and intense. When I folded that ruby-red paste into the buttermilk batter, it transformed instantly into that iconic, deep scarlet hue.
Ingredient Notes
- Buttermilk: This is the non-negotiable soul of the cake. It provides the acidity needed to react with the baking soda for that light, “velvet” lift.
- Mild Cocoa Powder: You only want a touch of cocoa—usually just two tablespoons. It’s meant to provide a background depth, not turn it into a chocolate cake.
- The “Tangy” Frosting: Since I avoid alcohol-based extracts, I used a heavy squeeze of fresh lemon juice in the cream cheese frosting. It heightens the natural tang of the cheese and balances the sweetness of the powdered sugar perfectly.
- White Vinegar: A teaspoon of vinegar added at the very end of the batter-making process reacts with the baking soda to give the cake its classic airy texture.
Step-by-Step Cooking Experience
- The Creaming: I beat the butter and sugar until it was incredibly pale. Because red velvet is a denser cake, getting that initial air into the butter is what prevents it from feeling “heavy.”
- The Ruby Paste: I whisked the cocoa and red coloring into a smooth paste and swirled it into the butter mixture. It looked like molten velvet.
- The Dry-Wet Alternate: I added the flour and buttermilk in stages. This keeps the batter emulsified and smooth.
- The Vinegar Spark: Right before the pans went into the oven, I folded in the vinegar and baking soda. I could see tiny bubbles forming immediately—that’s the lift in action!
- The Slow Cool: I baked at 350°F and made sure the layers were completely cold before frosting. Cream cheese frosting is delicate and will melt into a puddle if the cake is even slightly warm.
Mistakes & Fixes
I made the mistake of not “crumb-coating” the cake. Because the cake is so vibrant, a few red crumbs got caught in the white frosting, making the outside look a bit pink and messy. To fix it, I put the cake in the fridge for 20 minutes to let the first thin layer of frosting set, then applied a second, thicker “beauty layer” over the top. It completely covered the stray crumbs and left a pristine, snowy-white finish. Next time, I’ll always do a 15-minute “chill and coat” to keep those red crumbs exactly where they belong—inside!
Serving & Leftovers
I served this in tall, elegant slices. The contrast between the deep red layers and the thick white frosting is always a hit. For leftovers, this cake is a rare one that stays moist for days thanks to the buttermilk and oil. It must be kept in the fridge because of the cream cheese frosting. I found that a slice straight from the fridge is actually quite refreshing, but letting it sit on the counter for 10 minutes brings back that signature “velvet” softness.
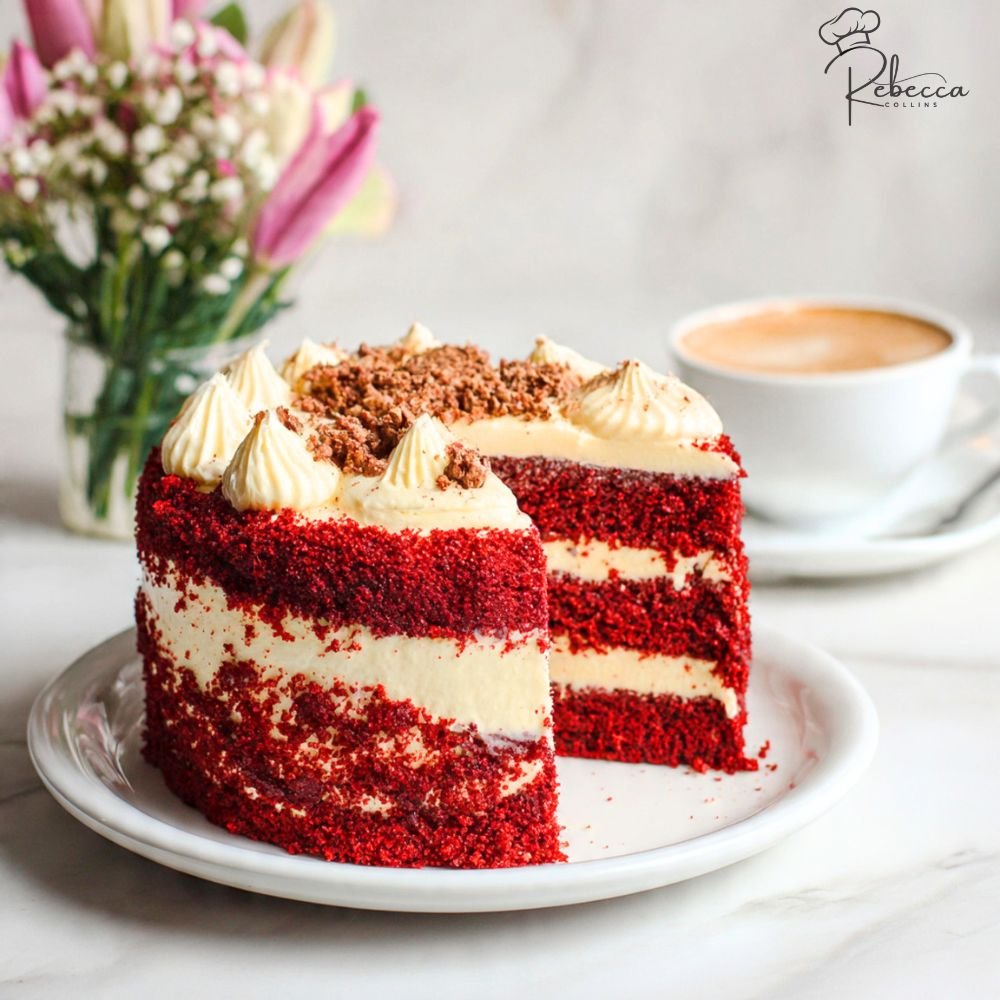
Red Velvet Cake
The ultimate red velvet cake with velvety crumb, subtle cocoa flavor, and tangy cream cheese frosting. Moist, tender, and perfectly balanced – a true Southern classic that’s perfect for birthdays, holidays, or any special occasion!
shopping_basket Ingredients
- 2½ cups all-purpose flour
- 1½ cups granulated sugar
- 1 tsp baking soda
- 1 tsp salt
- 1 tbsp unsweetened cocoa powder
- 1½ cups vegetable oil
- 2 large eggs, room temperature
- 1 cup buttermilk, room temperature
- 2 tsp vanilla extract
- 1 tbsp white vinegar
- 1 oz red food coloring (liquid)
- 16 oz cream cheese, softened
- ¾ cup unsalted butter, softened
- 4 cups powdered sugar
- 2 tsp vanilla extract
- ¼ tsp salt
list Instructions
- Preheat Oven: Preheat oven to 350°F (175°C). Grease and flour two 9-inch round cake pans, or line with parchment paper rounds.
- Mix Dry Ingredients: In a medium bowl, whisk together flour, sugar, baking soda, salt, and cocoa powder.
- Mix Wet Ingredients: In a large bowl, whisk together oil, eggs, buttermilk, vanilla, vinegar, and red food coloring until smooth.
- Combine: Gradually add dry ingredients to wet mixture, mixing until just combined. Do not overmix.
- Bake: Divide batter evenly between prepared pans. Bake for 25-30 minutes, or until a toothpick inserted in the center comes out clean.
- Cool: Let cakes cool in pans for 10 minutes, then transfer to a wire rack to cool completely.
- Make Frosting: In a large bowl, beat cream cheese and butter until smooth. Gradually add powdered sugar, beating until light and fluffy. Mix in vanilla and salt.
- Assemble: Place one cake layer on a serving plate. Spread frosting on top. Add second cake layer. Frost the top and sides of the entire cake.
- Serve: Refrigerate for 30 minutes to set frosting before slicing. Bring to room temperature for 15-20 minutes before serving.
monitor_heart Nutrition Information
Per Serving (1 slice, with frosting)
lightbulb Success Tips & Variations
- Room temperature ingredients: Bring eggs, buttermilk, and cream cheese to room temperature for the best texture and smooth batter.
- Don’t overmix: Mix just until flour disappears. Overmixing develops gluten and makes the cake tough.
- Natural red color: For a natural alternative, use 3 tablespoons of beetroot powder or reduce food coloring and add 2 tablespoons of beet juice.
- Make cupcakes: Divide batter into lined muffin tins and bake at 350°F for 18-20 minutes. Makes about 24 cupcakes.
- Layer cake tip: For level layers, trim the domed tops with a serrated knife before frosting.
- Make ahead: Bake cake layers up to 2 days ahead. Wrap tightly and refrigerate. Frost the day of serving.
package Storage & Reheating
Storage: Store frosted cake in an airtight container in the refrigerator for up to 5 days. Bring to room temperature 30 minutes before serving.
Freezing unfrosted layers: Wrap cooled cake layers tightly in plastic wrap and foil. Freeze for up to 3 months. Thaw overnight in the refrigerator before frosting.
Freezing frosted cake: Place cake in the freezer for 1 hour until frosting hardens, then wrap tightly. Freeze for up to 2 months. Thaw in the refrigerator overnight.
help Frequently Asked Questions
Why is my red velvet cake brown instead of red?
The cocoa powder darkens the batter. For a vibrant red, use gel food coloring instead of liquid (about 1 tablespoon of gel). Natural cocoa powder (not Dutch-processed) also yields a brighter red color.
Can I use buttermilk substitute?
Yes! Add 1 tablespoon of white vinegar or lemon juice to 1 cup of regular milk. Let sit for 5 minutes before using. Do not use heavy cream or non-dairy milk as substitutes.
Why does my cake have a greenish tint?
The combination of red food coloring and natural cocoa powder can sometimes react and create a slight green hue. This is harmless and doesn’t affect taste. Using gel coloring helps prevent this.
Can I make this into a 3-layer cake?
Absolutely! Divide the batter evenly among three 8-inch round pans. Bake for 20-25 minutes. You may need to increase the frosting recipe by 50% for three layers.
reviews Rate This Recipe
SAVE THIS RECIPE